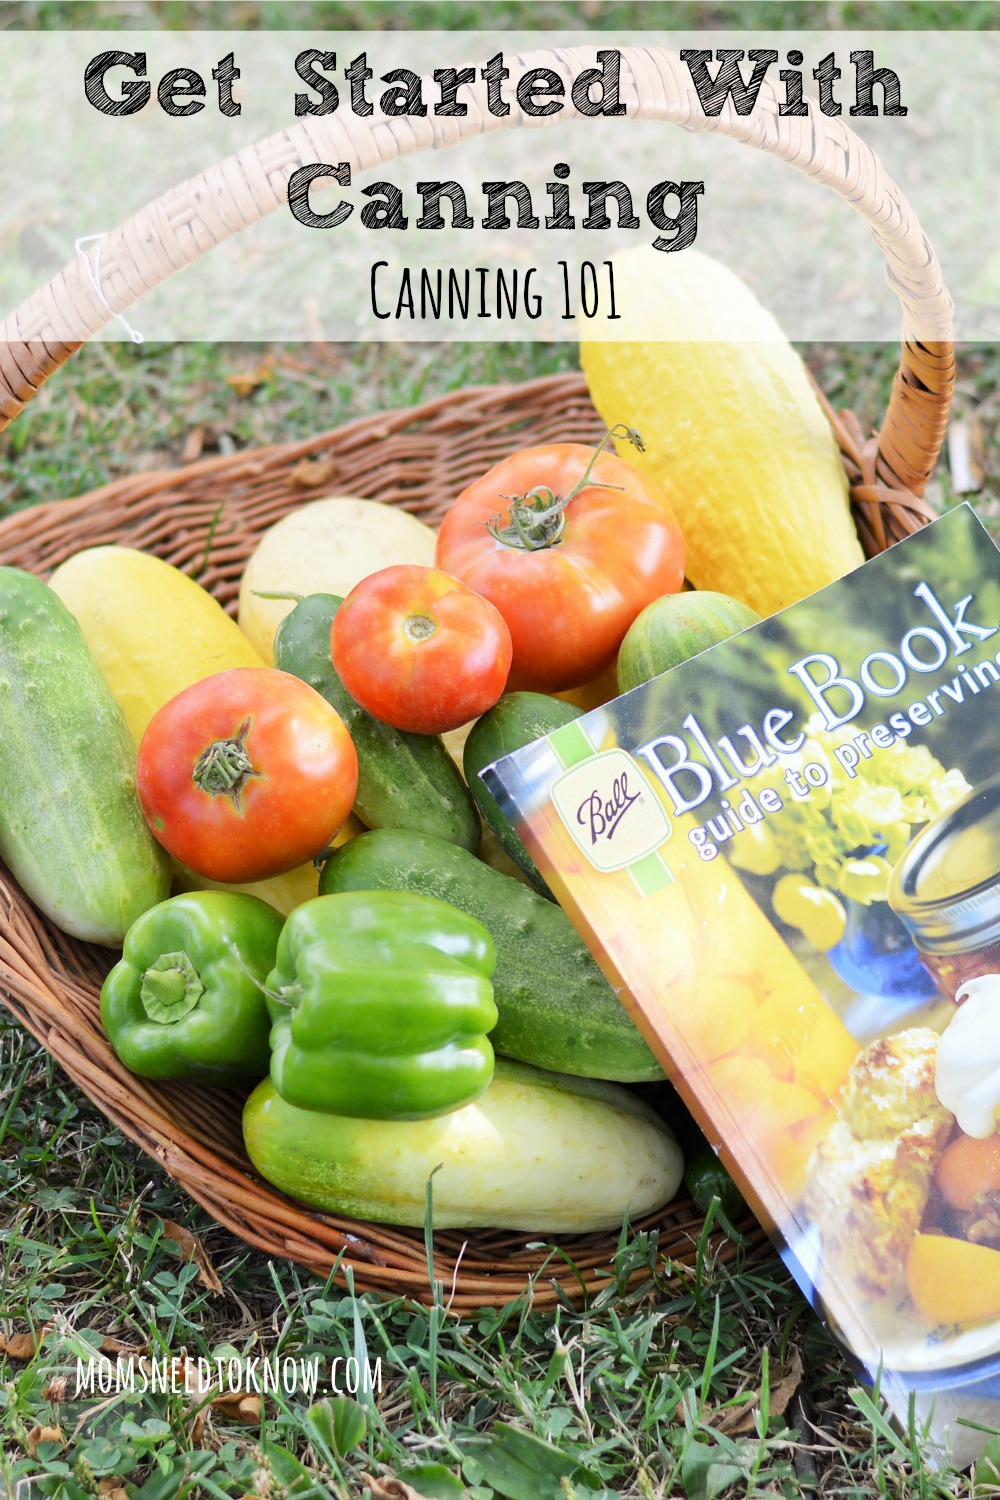
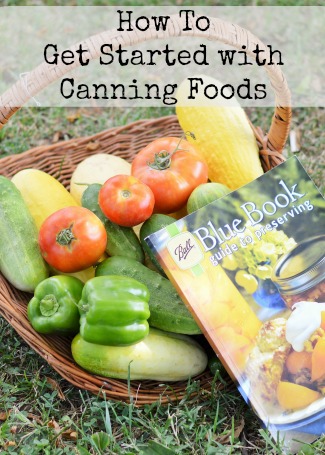
How To Get Started With Canning Foods | Canning 101
Even the thought of canning fresh produce at home can be overwhelming. With so many recipes, techniques, and horror stories, you may be left not knowing where to start. Don’t fret, it’s really not that difficult. There are many simple techniques and recipes that will allow you to learn in small doses, all while still feeding your family farm fresh produce.
The entire premise of canning is to eliminate the bacteria that cause food to spoil. While many forms of bacteria are actually beneficial to humans, there are some that can be very harmful. Even the most pristine examples of produce are laden with bacteria, but those that are damaged, bruised, or insect ridden house much more bacteria. Always select fresh, undamaged produce for the best results.
When food is heated to the required temperature for the recommended amount of time (varies by item), the bacteria is killed. It is released along with any air through the food safe seal on the jar lid. This is what causes the jar lids to ‘ping’ as they seal.
Basic Supplies Needed
The initial supplies required to home can are very minimal and inexpensive. You will need:
- Canning Jars (the size of the jars that you choose with depend on the recipe you select)
- Two Piece Caps (sometimes called rings and flats)
- Large Stock Pot with Rack and/or Pressure Canner*
- Spatula
- Jar Lifter
- Small simmering pot
- Ruler
* When I first started canning, I only had 1 really large pot and I needed that to cook the recipe that I intended to can and I didn’t want to yet spend the money on a pressure canner. I ended up buying this inexpensive 9 Piece Water Bath Canner that included all the supplies (except jars) that I needed. It wasn’t until 2 years later that I started canning foods that needed to be done in a pressure canner, so this was the perfect way for me to get started with canning foods!
For more detailed instructions be sure to check out my Water Bath Canning 101 and Pressure Canning 101 posts!
Types of Canners
Water Bath Canning
High acid foods such as tomatoes, fruits, jellies, and pickles are processed in a water bath canner, sometimes known as a boiling water canner. Water bath canning is a very inexpensive and simple process, which makes it great for beginners!
You will need a large stock pot or canner with a rack that fits inside. You can purchase this at almost any department store for around $20 or this 9 Piece Water Bath Canner will also contain all the other supplies that you need. If you have a nice, heavy stockpot at home, you can also line the bottom with a tea towel and use it. It will have to be deep enough to leave at least 3” of water covering the jars.
Pressure Canning
Pressure canning is a means used to preserve low acid foods, such as green beans, corn, and soups, that require a higher temperature to kill bacteria. Low acid foods must be canned at 240° F and held at that temperature for times specific to each food. A pressure canner pressurizes steam, so it can hold a consistent temperature higher than the boiling point of water.
Sterilization and Safety
Canners
Always inspect your canner for pinholes, corrosion, and even dents, as they can affect heat distribution. If you are using a pressure canner, inspect the gaskets and safety valves. You should also clean the vent pipe and verify that locks are working correctly. If your canner has a dial gauge, you should have it tested each year. Testing is available at many hardware stores and state extension offices.
Jars
You should look over your jars before beginning to ensure that they are free of cracks, chips, weakness, and residue. Even a slight scrape cannot hold up to the pressure and extreme temperatures of canning. If you are dealing with residue, soak in a solution of vinegar and water and wipe with a soft cloth to remove.
Jars must be heated for at least 10 minutes at a temperature above 180° before canning. This can be done in a boiling water canner, slow cooker, or dishwasher. Remove each jar just before filling, leaving the others to stay heated. This prevents breaking and bacteria growth.
Lids
Never reuse a lid (but it’s okay to reuse rings). Wash them with warm soapy water and a soft cloth and rinse. Allow the rings to dry and set aside. Place the lids in a small pot of simmering water and maintain at 180° (a slow simmer) until ready to place on filled jar. A warm, heated lid will ensure a tight seal.
Cleaning the Rims
After you’ve filled a jar, always carefully clean the rim with a damp, clean cloth. Any food residue will prevent proper sealing.
Selecting a Recipe
Once you’ve assembled your supplies and familiarized yourself with the canning process, it’s time to start canning! Select a recipe from a trusted source, such as the ever popular Ball Canning Book. Techniques have changed dramatically over the years so make sure you have an updated copy.
When making your selection, take into seasonal produce, additional supplies, technique, and skill level into consideration. I recommend beginning with pickles or canned fruits.. But just remember – before digging in to your canned foods, allow the canned product to sit the recommended amount on the shelf. It takes some recipes, especially pickles, a few weeks to marinate.
For more detailed instructions be sure to check out my Water Bath Canning 101 and Pressure Canning 101 posts!
SOURCE: Moms Need To Know ™ – Read entire story here.